
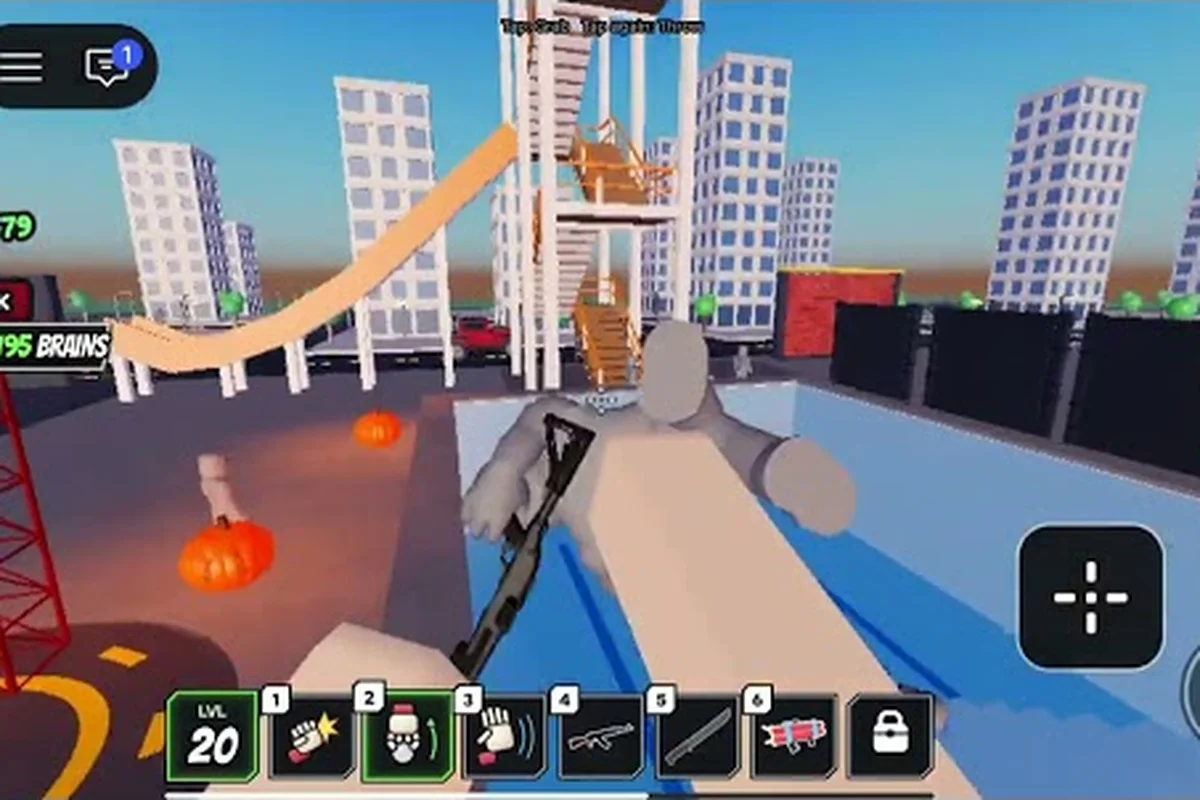
Knowing Ragdoll Reality how to knock out dummies means using the body as the target: legs can make a dummy crawl or limp, a clean strike can cause pain, and a direct hit can knock it down. The right approach depends on whether you want to disable it briefly, make it run, or prepare a larger takedown.
What Makes Dummies Fall in Ragdoll Reality?
Ragdoll Reality reacts to physical impacts instead of displaying a conventional health bar. The official Ragdoll Reality game page says hits register where they land, which explains why a leg strike and a head strike can produce very different results. This makes target selection more important than simply swinging as quickly as possible.
The main outcomes depend on Impact location, Strike direction, Dummy balance, and Recovery state. A balanced dummy can absorb movement and respond more dramatically, while one already stumbling or crawling has less room to recover. For example, a sweeping leg strike on a standing dummy can turn the upper body while its feet remain planted, whereas the same hit against a crawling dummy may only produce a short collapse. A low strike near the legs can also interrupt a dummy get up, reducing its chance of returning to a standing state, while a hit to the head carries a greater risk of an immediate dummy limp. Timing matters: striking as the dummy rises can redirect its momentum, but striking after it has regained balance may require a stronger follow-up to create another knockdown.
Core Target Areas
| Target area | Likely reaction | Best tactical use | Limitation |
|---|---|---|---|
| Legs | Stagger, limp, or crawl | Reduce movement and create a knockdown opening | A crawling dummy can still recover |
| Torso | Heavy stagger or knockdown | Break balance before following with a finishing hit | More useful when aimed with momentum |
| Head | Strong disorientation or collapse | End a sequence when the dummy is already unstable | Exact timing matters |
| Arms | Reduced arm use or clutching a wound | Limit grabbing and defensive reactions | Usually less reliable for immediate knockdown |
| Back or side | Loss of balance | Surprise a standing dummy or exploit a recovery pose | Results depend on the current stance |
These are outcome patterns rather than guaranteed health thresholds, and the official Ragdoll Reality page does not publish damage values, stun durations, or exact knockdown percentages. The practical distinction is between stagger, knockdown, limp, and crawl: a stagger briefly interrupts a dummy’s attack or movement, a knockdown drops it, and a limp or crawl can still recover. That difference explains why a torso hit with momentum may create a finishing window, while a lightly placed leg hit might only slow the dummy. Use target choice to control the transition: first create loss of balance, then strike while the dummy is still falling or attempting to stand, rather than expecting every successful hit to produce the same ragdoll collapse.
Three Useful End States
Choosing the right end state depends on the dummy’s ragdoll pain response and whether its dummy run away or dummy get up behavior is active. For example, target a nearby dummy to create a dummy crawl or limp before testing another one; if the struck dummy begins rising, switch targets instead of relying on the same knockdown. This deliberate sequencing turns a temporary stagger into a longer interaction window without assuming that every fallen dummy remains incapacitated.
-
Controlled disable means the dummy stays down long enough for you to interact, reposition, or test another target.
-
Forced movement makes the dummy crawl, limp, or retreat from danger.
-
Recovery bait occurs when you leave it capable of getting up, giving you a chance to strike again during the vulnerable recovery animation.
This distinction is important because knocking a dummy down and keeping it down are not the same task. The official game page describes dummies that can stagger, recover, run, and rise again, so repeated hits may require changing targets rather than simply hitting the same spot.
Leg Strikes for a Limp or Crawl
Leg attacks are the clearest way to make a dummy lose mobility. A solid impact near the thigh, knee, or lower leg can produce the Ragdoll Reality dummy limp effect, while a more complete hit may leave it dragging forward. If the dummy falls and tries to move on the floor, the resulting Ragdoll Reality dummy crawl behavior becomes visible.
A lower-body strategy works best when you approach with a clear angle instead of trading attacks in front of it. Leg-first approach lets you reduce the dummy’s ability to turn, block, or advance. Momentum-assisted strike uses a running hit to disturb balance more reliably than a stationary poke. Recovery tracking means watching whether the affected leg supports weight or merely drags.
| Situation | Best target | Why it works | Follow-up |
|---|---|---|---|
| Dummy standing still | Thigh or knee | Disrupts balance and load-bearing | Strike again when it drops |
| Dummy advancing slowly | Lower leg | Limits its ability to close distance | Circle away or continue striking |
| Dummy crawling | Supporting knee | Limits the remaining movement path | Move around it before finishing |
| Dummy recovering from a fall | Leg still raised | Catches it before balance returns | Redirect toward the torso |
Players should avoid assuming that crawling means permanent defeat. The official description explicitly notes that dummies can get back up, and the physical recovery animation may restore enough control to stand. For more detail on how that animation affects balance, see the breakdown of five dummy target zones.
Practical Leg-Strike Sequence
Begin with several controlled hits rather than one oversized swing, because a balanced dummy can absorb a poorly aligned blow. Aim toward the lower body, watch the dummy’s balance change, and then reposition toward its weaker side. If it drops, keep the next strike away from the crawling path so you do not push it across the floor unintentionally.
The safest practical approach is to test one target, observe the result, and then repeat the effective pattern. A leg strike that creates a limp may be more useful than a stronger torso hit that lets the dummy stagger for only a moment. The goal is a predictable physical state, not maximum visual force on every swing.
Torso and Head Hits for Faster Knockdowns
Torso and head impacts offer a more direct path to knockdown. A centered torso strike can destabilize the whole body, especially if the dummy is moving, turning, or already leaning. A head hit can create a sharper collapse when it lands cleanly, but the narrow target area makes precision more important.
The torso is generally the most forgiving area for beginners because it presents a larger surface and sits close to the dummy’s center of mass. The head can reward accuracy, although a slightly late strike may glance away. The best target also depends on what the dummy is doing: a running dummy may offer a back or side, while a standing target exposes the torso more reliably.
| Strike plan | Target selection | Expected result | Best use |
|---|---|---|---|
| Direct knockdown | Torso | Large loss of balance | When the dummy is standing and exposed |
| Precision finish | Head | Sharp collapse or disorientation | After the dummy has already staggered |
| Directional knockdown | Shoulder or side | Rotation away from the player | To prevent it from grabbing back |
| Follow-up blow | Torso after descent | Ground impact and reduced recovery | When the dummy lands on its back |
| Finishing strike | Head during recovery | Collapse before it rises | When timing and aim are precise |
A reliable sequence begins with a controlled torso hit, waits for the dummy to buckle, and follows only when a clear opening appears. Trying to land every attack in the same animation can cause the character to swing through the target while the body is already rotating away.
The official page emphasizes location-based reactions rather than fixed combo routes, so each strike should be judged by the dummy’s current state instead of a scripted sequence. For example, a torso hit on a standing dummy can produce a broad loss of balance, while a shoulder strike on a running dummy can redirect momentum and create an opening. The dummy target-zone reference breaks down how head, torso, shoulder, and side impacts alter the ragdoll response, which helps explain why identical attacks can lead to different knockdown outcomes.
Handle Dummies That Fight Back or Run Away
Not every dummy will remain passive. Some may fight back, retreat, crawl, or recover after a hit, turning a simple exercise into a reactive sequence. Watch for telltale state changes rather than committing to a single combo: raised arms can signal resistance or a grab, a backward step may precede a run, and a dummy starting to stand up needs an immediate leg hit or finishing strike. Adjusting your spacing and strike selection after each state change keeps you from wasting hits while the dummy resets, but exact reactions vary by dummy type, so the roster patterns are worth learning before you engage.
When a dummy starts to Fight back, keep your next action short and direct. Striking the legs can reduce its ability to close the distance, while a torso hit creates an opening before it can organize another attack. A player who keeps swinging after the dummy has fallen may give it time to rise and counter.
When a dummy chooses to Run away, do not chase from directly behind at full speed. A rear hit can connect, but the best result often comes from cutting across its path, striking the leg, or using a wide attack as it turns. The result may be a forced retreat, a stumble, or a sudden collapse.
| Dummy response | Immediate read | Best response | Common mistake |
|---|---|---|---|
| Steps backward | It may recover or run | Close distance with a body strike | Swinging while out of range |
| Raises its arms | It may resist or grab | Target the torso or leg | Chasing an exposed head angle |
| Pushes away | Balance is already unstable | Follow with a torso hit | Overcommitting beyond recovery range |
| Runs away | It is prioritizing escape | Intercept from the side | Following directly in its path |
| Stands back up | Recovery is nearly complete | Hit a leg or finish at the head | Waiting for a full reset |
The official page confirms that dummies can run away and fight back, but it does not publish a universal trigger for either response. Their behavior may also vary with the dummy type, so familiarizing yourself with the roster in all Ragdoll Reality dummy types and reactions can help you recognize patterns sooner.
Managing Retreats Without Losing Control
When a dummy retreats, move to the side instead of following directly behind it. Position yourself between the dummy and open space, then choose between forcing it to turn or leaving a controlled gap. This creates a choice: the dummy can keep backing away, fight back, or commit to a run. Each option gives you a different response.
A wide strike can punish a turn, but timing it too early lets the dummy change direction. A short body strike is safer when the target is close and moving. If the dummy has enough room to build speed, avoid standing still and swinging. Maintaining a diagonal angle preserves your next option and reduces the chance of being caught by a counterattack.
Control Pain, Bleeding, and Recovery States
The Ragdoll Reality dummy pain reaction adds another layer to knockouts. An injured dummy may clutch an arm, slow down, or become easier to reposition, depending on where it was hit. The official game page says wounds can bleed and limbs can detach, which makes limb damage a major part of the physical sandbox.
Pain can be useful without immediately ending the encounter. A wounded arm may restrict grabbing, while a damaged leg can make the dummy crawl or limp. However, severe damage may also change the scene in ways that are difficult to control, especially when a limb comes free near a doorway, obstacle, or another dummy.
| Injury result | Observable effect | Strategic value | Caution |
|---|---|---|---|
| Arm pain | Clutching or reduced arm movement | Limits grabbing or counterattacks | The dummy may still kick or move |
| Leg pain | Limping, crawling, or slow movement | Creates a low-mobility target | It can recover and stand again |
| Torso wound | Bleeding and possible collapse | Opens a window for a finishing hit | Position may roll unpredictably |
| Detached limb | More severe physical reaction | Can produce a dramatic knockdown | Loose body parts can shift the fight |
| Infection | Altered status after a bite | Creates a new threat category | It may convert rather than simply recover |
If clean control is the priority, stop once the dummy is disabled rather than forcing a dismemberment outcome. A torso wound can trigger bleeding and collapse, but a detached limb may create loose-body physics that are harder to manage near obstacles. For example, disable the legs first to produce a crawl or limp, then reposition the dummy away from doorways; this preserves the knockdown state while reducing the chance of unexpected rolling. The dummy blood and infection guide covers wound placement, bleeding, and infection in more detail.
Prioritize Control Over Maximum Damage
To knock out a dummy with minimal unpredictability, strike the legs first, watch the resulting mobility, and reserve a torso or head strike for a finishing window. This approach also teaches you how the body behaves when it loses support, which matters when the dummy crawls, turns, or starts to get up.
The best time to continue is during a clear transition. A dummy that has just fallen but still has both feet planted may recover quickly. One that is dragging a leg or holding a wounded arm has fewer stable support points. Use that instability rather than attacking blindly, and keep your character positioned where the dummy cannot rise directly into you.
A Reliable Step-by-Step Knockout Plan
A repeatable plan helps when dummies react differently. Start each encounter by identifying the dummy’s stance, distance, and available movement. Choose a target based on what you need next: the legs for control, the torso for a general knockdown, or the head for a precise finish after balance is already broken.
| Step | Action | Reason | Result to watch for |
|---|---|---|---|
| 1 | Approach at a slight angle | Keeps escape and counterattack paths open | Dummy faces or turns toward you |
| 2 | Strike the leg or lower torso | Creates the first imbalance | Limp, crawl, or stagger |
| 3 | Move to the weak side | Prevents a straight recovery | Less stable footing |
| 4 | Deliver a torso or head hit | Converts instability into knockdown | Fall or collapse |
| 5 | Track the landing | Controls follow-up placement | Opponent rolls onto back or side |
| 6 | Interrupt the rise | Prevents full recovery | Dummy stays down longer |
| 7 | Reposition before disengaging | Reduces retaliation risk | Safe end to the sequence |
If the dummy stands up after the final hit, use a leg strike during the rise rather than waiting for it to regain normal posture. This is where the Ragdoll Reality dummy get up behavior becomes a useful signal: a rising dummy is often more vulnerable than one already standing, especially when one leg still bears most of its weight.
Adjust the Plan When the Dummy Escapes
If the dummy runs away, stop attacking empty space and sprint diagonally toward its route. Intercept it with a wide body strike, then redirect the result toward a wall, obstacle, or less open area if one is available. The physics-based game makes environmental positioning valuable because a collision can continue the knockdown after your weapon stops moving.
If the dummy fights back, watch its arms and upper body for the start of a response. A compact strike to the torso can interrupt the motion, while a leg attack can slow the approach. Once it stumbles, follow with a stronger torso hit rather than continuing to trade light attacks.
Practice Drills for Better Dummy Control
Controlled practice teaches more than chaotic brawls because dummy limp, dummy crawl, dummy pain, and dummy fight-back behavior can change after each impact. Since the official page documents the basic mechanics but not training mode, health values, or stun duration, use repeatable drills to compare outcomes—for example, land one controlled hit, observe whether the dummy falls or gets up, then test the same strike from a different angle. Repeating that sequence helps reveal cause and effect without mistaking random ragdoll outcomes for a stable strategy.
One-Target Accuracy Drill
Choose one body area and practice ten consecutive hits. Start with the thigh, then move to the torso and head. Notice how the dummy rotates, how far it falls, and whether it can stand immediately. The objective is not to land the most violent blow; it is to make the same area produce a repeatable reaction.
Reaction-Switch Drill
Alternate targets between the leg, torso, and head. The dummy may limp after the first hit, fall after the second, and attempt to rise after the third. This teaches you to read physical states instead of repeating one attack. It also reveals whether your timing creates stagger, fall, or full knockdown.
Escape-Control Drill
Let the dummy move away after a mild hit, then intercept it from the side. Practice stopping the retreat without overshooting. The goal is to remain in control when the target changes direction, which is especially useful against dummies that run away or fight back.
Recovery-Interrupt Drill
Strike the torso to create a fall, then pause before the final blow. When the dummy begins to rise, target the supporting leg or head. This is a practical way to learn the recovery animation without trying to memorize an unpublished frame count or damage threshold.
Frequently Asked Questions
How do I knock out dummies in Ragdoll Reality fastest?
Strike the legs to create a limp or crawl, follow with a torso hit, and aim for the head during the fall. A centered body strike is more reliable than a narrow headshot, while recovery timing lets you interrupt a dummy before it stands again.
Why does a dummy crawl instead of staying down?
A leg impact can reduce the dummy’s ability to support its weight, causing it to move along the floor. It may recover and stand because the game emphasizes physical reactions rather than a permanent knockout state, so repeated hits may be needed.
Can dummies fight back after being knocked down?
Yes. Dummies can fight back, run away, and get up, as confirmed by the official game page. Keep your distance after a fall, watch for an early rise, and redirect the dummy with a leg or torso strike before it regains a stable stance.
What is the best target for stopping a running dummy?
Intercept the dummy from the side and prioritize its legs or torso. A direct rear attack can miss because the target is moving away, while a diagonal approach limits its escape route and gives your next strike a better chance to connect.
Does more damage always produce a better knockdown?
No. A powerful hit can cause a dramatic collapse, but controlled leg damage is often better when you want to stop movement. Choose the target according to your goal: legs for control, the torso for a broad knockdown, or the head for a precise finish.