
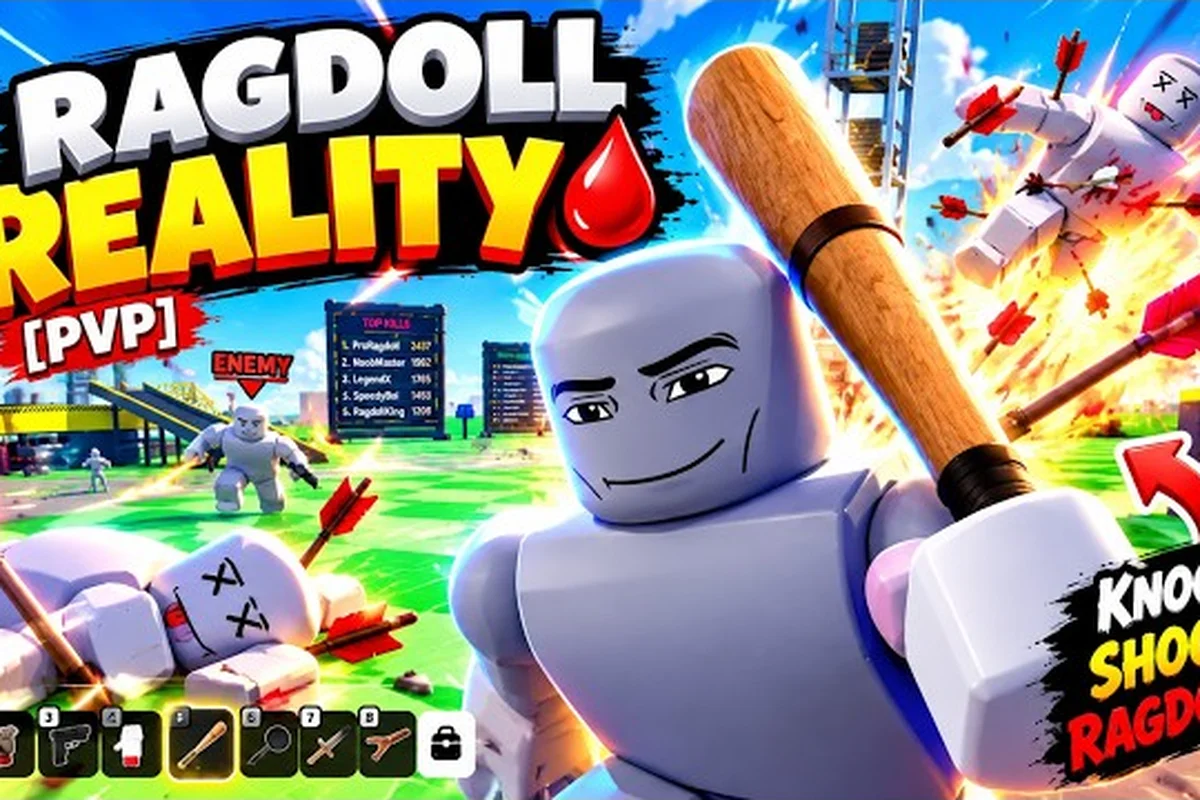
A useful ragdoll reality loadout guide matters because the strongest two-weapon setup balances immediate impact, range, and crowd control instead of relying on one oversized damage number. The official roster names 12 options, so choosing what weapon should i use becomes a question of role, physics, and the encounter ahead.
Loadout Guide: Choosing a Two-Weapon Core
A good loadout gives each slot a separate job. One weapon handles precise damage, the other creates space, controls a group, or covers a range gap. That principle is more reliable than treating the sandbox like a conventional shooter with a single dominant gun.
The official Ragdoll Reality game page names Fists, Bat and Machete for close impact; Push and Grab as movement tools; Pistol, Shotgun, Sniper and Minigun for range; Rocket Launcher, Flamethrower and C4 for heavy effects. It also states that the game contains more than 20 weapons, although the remaining names are not specified.
Because the official page does not publish damage, ammunition, cooldown, or fire-rate figures, this guide treats tiers as editorial role judgments rather than measured rankings. In a ragdoll reality tier list explained clearly, each weapon is scored by the job it performs inside the physics sandbox.
| Loadout role | First weapon | Second weapon | Why the pairing works |
|---|---|---|---|
| General-purpose | Pistol | Shotgun | Covers both measured single targets and close groups |
| Maximum range | Sniper | Pistol | Adds immediate follow-up when the first shot misses |
| Aggressive melee | Bat | Machete | Blends heavy swings with faster close-range pressure |
| Crowd control | Minigun | Flamethrower | Maintains distance while denying clustered approaches |
| Explosive control | Rocket Launcher | Shotgun | Combines area pressure with a dependable close-range follow-up |
| Experimental utility | C4 | Grab | Uses placement and repositioning instead of conventional firepower |
The Slot-One Rule
Reserve the first slot for the weapon you can use consistently. Its shot, swing, range, and recovery rhythm should feel dependable even when the sandbox becomes chaotic. The second slot should cover the weakness of the first: a slow heavy attack needs speed, a precise rifle needs crowd pressure, and a short-range weapon needs reach.
Reliable primary + complementary backup is more valuable than two weapons that perform the same task. A pistol-and-sniper pairing, for example, can feel weak during a rush if the sniper is the only source of immediate damage, while pistol-and-shotgun offers a more adaptable response. Community judgments about the ragdoll reality community tier list frequently reflect this practical test rather than raw power.
What the Official Roster Does and Does Not Confirm
The official game page confirms the named roster and its general themes, but it does not identify a best weapon. It also omits numerical details that would be necessary for a laboratory-tested ranking. The full weapon-role tier list therefore uses clear labels and explains the assumptions behind every position.
That distinction matters when updates add more options. The game page ties new weapons to kills but does not publish the required thresholds. Treat a current ranking as a snapshot of the known roster, not a permanent verdict, and reevaluate it when a new tool changes a neglected role.
Weapon Roles in the Tier List Explained
Role grouping is the most reliable way to understand this roster. Fists, Bat, and Machete act as close-range impact tools. Push and Grab manipulate a dummy without necessarily dealing direct damage, while Pistol, Shotgun, Sniper, and Minigun provide ranged options. Rocket Launcher and C4 fall into the explosive category, and Flamethrower applies fire.
These categories describe functions, not guaranteed performance. Ragdoll physics, target distance, player accuracy, and the ability to create a clean opening can change the result. A melee weapon can be excellent against a single dummy yet poor when several targets converge from different angles.
| Weapon | Primary role | Best secondary pairing | Main strength | Main limitation |
|---|---|---|---|---|
| Fists | Always-available melee | Shotgun | No separate tool required | Short reach and low crowd coverage |
| Push | Displacement utility | Pistol | Creates distance without relying on damage | Weak when a target must be eliminated |
| Grab | Target manipulation | Bat | Repositions bodies for collisions or setups | Requires deliberate positioning |
| Pistol | Precise fallback | Shotgun | Flexible accuracy at medium range | Limited burst pressure |
| Bat | Heavy close-range impact | Pistol | Strong physical knockback potential | Difficult to control in a crowd |
| Machete | Fast melee pressure | Sniper | Quick attacks during a close approach | No reliable long-range option |
| Shotgun | Close-range burst | Minigun | Dense damage near the player | Weak against distant targets |
| Sniper | Long-range precision | Pistol | Picks off exposed targets from afar | Vulnerable during a close rush |
| Minigun | Sustained suppression | Grab | Keeps attackers away from the player | Heavy use can occupy the main slot |
| Rocket Launcher | Explosive area pressure | Grab | Disrupts clustered targets | Risky at close range |
| Flamethrower | Area denial | Pistol | Applies damage across a path | Poor fit for precise isolated targets |
| C4 | Placed explosive | Grab | Rewards timing and environmental setup | Placement is easier to misuse than gunfire |
Impact, Utility, and Precision
An impact weapon wins through contact and momentum. A utility weapon wins by changing where a body goes, while a precision weapon wins by connecting before the target closes the distance. This is why Push plus Pistol can be surprisingly coherent: Push creates a safe shooting window, and the pistol converts that window into damage.
Grab belongs in a different category because its value depends on the setup. It can move a dummy into a harmful position, interrupt a clustered group, or prepare a more dramatic collision. That makes Grab plus a heavy impact tool a specialized pairing rather than a universally safe beginner setup.
For additional role analysis, the guide to underrated utility picks explains why a weapon can be effective without belonging to the highest damage group. Utility often loses direct comparisons yet creates more useful opening shots for the other equipped weapon.
Best Two-Weapon Combos by Combat Situation
The best combination depends less on a universal ranking than on the situation. Distance, enemy count, objective type, and desired difficulty all matter. A strong loadout should solve the first problem you are likely to encounter without wasting its other slot on a duplicate function.
| Situation | Recommended pair | Decision path |
|---|---|---|
| One target at medium range | Pistol + Sniper | Use precision first; keep the pistol for follow-up |
| Several close targets | Shotgun + Minigun | Burst damage creates space, suppression prevents a surround |
| One armored-looking target | Sniper + Pistol | Avoid close-range dependence |
| Fast swarm approach | Flamethrower + Grab | Deny the path, then manipulate remaining targets |
| Stacked or clustered targets | Rocket Launcher + Grab | Create an opening before repositioning bodies |
| Open sandbox duel | Machete + Pistol | Close aggressively or answer the first attack |
| Experimental setup challenge | C4 + Grab | Prepare the placement, then influence the resulting cluster |
| Mixed ranged targets | Minigun + Sniper | Control the approach and punish survivors |
Close, Medium, and Long Distance
For an uncertain first target, a close-range weapon offers immediate relevance. Shotgun plus Pistol is a balanced answer to the practical question of what weapon should i use: the shotgun handles a nearby group, while the pistol rewards accuracy at a slightly greater distance. It is straightforward, adaptable, and easy to understand.
Sniper plus Machete maximizes the distance gap, but that gap creates risk. If the player cannot establish a firing lane or move quickly after missing, the sniper may consume the slot that could have handled an approaching dummy. This setup rewards controlled repositioning rather than frantic close-range exchanges.
Shotgun plus Sniper is a common contrast pair. It gives excellent short-range stopping power and high-value long-range potential, but the middle distance can feel awkward. A player who regularly fights across open arenas may prefer pistol plus sniper, while someone surrounded in a corridor may favor shotgun plus minigun.
Against Groups
Crowd pressure changes weapon value quickly. The minigun is designed to project force over time, so pairing it with a close burst weapon creates a layered defense. Shotgun plus minigun is especially coherent because both support denial of space, although their exact performance depends on how the bodies bunch up and where the player can stand.
For explosives, the rocket launcher and C4 both reward positioning. C4 is more deliberate because the player must place it and shape the situation around the blast. The community tier list approach treats that setup potential separately from direct damage, since a perfect placement can outperform a less precise explosive attempt.
A minigun paired with grab gives a different answer. The minigun handles incoming targets, while grab lets the player redirect survivors. The dedicated minigun crowd-control analysis goes further into the weapon’s role as a space-control tool rather than merely a damage source.
Best C4: Placement, Timing, and Pairings
C4 is best treated as a placed-area tool, not a direct substitute for a firearm. Its potential comes from choosing a location, timing the initiation, and using the other weapon to control or manipulate targets. Players asking whether c4 is good should compare that setup potential with the consistency of conventional ranged options.
The official roster confirms C4’s inclusion but provides no ammunition count, damage value, blast radius, or cooldown. There is therefore no defensible numerical claim that C4 outperforms the rocket launcher. A community-informed judgment can still identify where it feels valuable: clustered targets, controlled corridors, and situations where the player can safely create a delay.
| Partner weapon | C4 synergy | Practical setup |
|---|---|---|
| Grab | Excellent | Move or gather targets near the charge before detonating |
| Pistol | Strong | Cover the approach while the charge handles a clustered area |
| Shotgun | Strong | Control nearby threats and punish survivors after the blast |
| Minigun | Strong | Suppress incoming targets while the C4 is prepared |
| Sniper | Moderate | Cover distant lanes, then activate the C4 at the right moment |
| Bat | Moderate | Clear space around the charge, then use impact attacks |
| Flamethrower | Situational | Control a path leading toward the placement |
When C4 Excels
C4 makes the most sense when targets share a predictable route. A narrow approach, a doorway, or a group collecting near one object creates a compact area without requiring the player to chase every dummy. The second weapon should protect the activation window: grab for rearrangement, minigun for suppression, or pistol for mobile follow-up.
The best c4 pairing depends on whether the player wants to engineer the situation or simply benefit from it. Grab plus C4 offers the highest control because the player can intentionally place bodies. Pistol plus C4 is easier to use when the player cannot reliably manipulate targets and needs a more forgiving secondary role.
Timing also matters more than simply selecting the item. A charge activated before the group enters the intended area misses the most valuable opportunity, while waiting too long may allow a target to scatter. The C4 setup window should be treated as a short planning phase, not an invitation to remain exposed indefinitely.
When Another Weapon Is Better
C4 is less attractive when targets constantly change direction, there is no safe place to initiate it, or the encounter demands immediate movement. A shotgun plus minigun loadout can keep threats at a distance with less reliance on a successful setup. A pistol plus sniper loadout also remains more forgiving when the player cannot control where bodies gather.
C4 belongs in a high-experiment or controlled-objective loadout, not automatically in the universal top slot. That restraint is important for answering whether c4 is good: it can be excellent in the right setup, yet an explosive placement tool offers less immediate flexibility than a balanced firearm pair.
Building a Loadout Around Your Play Style
A ragdoll reality loadout guide should ultimately account for player behavior. Someone who enjoys precise movement may prefer a sniper as the main weapon, while a player who improvises physical interactions may favor grab and bat. The strongest setup is the one whose intended skill matches the situations you repeatedly encounter.
Consider three variables before changing weapons: target distance, target density, and reaction time. If enemies usually remain far away, invest in reach. If they swarm, favor crowd denial. If they are isolated, prioritize precision and clean follow-up shots. If you are still learning the controls, avoid a setup that requires constant repositioning and explosive timing at the same time.
| Player preference | Primary slot | Secondary slot | Reason |
|---|---|---|---|
| Learn fundamental aiming | Pistol | Shotgun | Builds confidence without abandoning close-range defense |
| Enjoy long sightlines | Sniper | Pistol | Preserves a usable answer after the first shot |
| Prefer physical comedy | Bat | Machete | Combines different close-range impact rhythms |
| Prefer group fights | Minigun | Shotgun | Layers sustained and burst pressure |
| Enjoy tactical setup | C4 | Grab | Turns positioning into the central mechanic |
| Experiment with the sandbox | Rocket Launcher | Grab | Links explosive timing with physical control |
A Simple Testing Routine
Test a new pair in a short sequence rather than judging it after one chaotic encounter. Begin with an isolated target, then create a group scenario, and finally approach the same group from a distance. Notice whether the first weapon opens the situation and whether the second prevents the reversal that follows.
Keep the same movement routine for all three tests. If the pair feels weak only because the player mishandles a long-range weapon, a different slot may solve the issue. If both weapons fail for the same reason, the problem is probably the role combination rather than execution.
The first-session basics are useful for learning controls before evaluating advanced combinations. Once the basic actions are comfortable, test one loadout at a time and record which situation produced the clearest result.
When to Switch Slots
Switching is sensible when a loadout reaches a limit. A sniper becomes awkward when targets are always too close; a shotgun becomes wasteful when enemies remain distant; a minigun pair struggles when precise single-target damage is required. A backup slot should answer that exact weakness, not simply be a different-looking firearm.
The same logic applies to explosives. If C4 frequently activates before the intended group arrives, pair it with grab for better control. If rocket shots are difficult to land against moving bodies, use the secondary slot to slow or redirect the group. Role correction is usually more valuable than exchanging one damage number for another.
Practical Loadout Recommendations by Experience Level
New players benefit from a forgiving pair, while experienced sandbox players can exploit more specialized tools. A clean pistol pairing provides consistency, while a heavy-impact combination can reward learned timing. The official roster supports both approaches, but it does not set a prescribed progression path.
| Experience level | Recommended pair | Why it fits |
|---|---|---|
| Beginner | Pistol + Shotgun | Easy to understand and adaptable across distances |
| Early intermediate | Shotgun + Sniper | Clear short- and long-range identities |
| Intermediate | Minigun + Grab | Combines space denial with body control |
| Intermediate | Bat + Pistol | Mixes impact and reliable backup damage |
| Advanced | Rocket Launcher + Grab | Rewards positioning and deliberate area control |
| Specialist | C4 + Grab | Depends on advanced timing and target manipulation |
| Open-arena specialist | Sniper + Pistol | Prioritizes reach while retaining follow-up capability |
Beginner Recommendation: Pistol and Shotgun
The pistol and shotgun pairing is the least complicated answer to the question of what weapon should i use. The pistol can be used without much setup, while the shotgun creates a practical response when multiple targets close in. Together, they cover distinct situations without requiring advanced knowledge of explosives or physics-based setups.
This does not mean the pair wins every duel. It wins by remaining understandable. A player can focus on the primary gun, save the other slot for a meaningful gap, and still understand why a result occurred. That makes it a good foundation for testing more specialized pairs later.
Advanced Recommendation: C4 and Grab
C4 plus grab is a high-skill combination because both tools demand deliberate timing. The player must create a target cluster, position the explosive, and protect the setup. When executed well, however, the pair turns the sandbox’s physical behavior into a repeatable plan rather than a simple damage race.
The dedicated analysis of weapons for horde scenarios offers a broader look at density, while this loadout concentrates on the combination that most actively manipulates that density. The specialist choice is not automatically the best choice; it is the most demanding one.
The Best General-Purpose Pair
Pistol plus minigun is another balanced option, especially when the player prefers to maintain distance. The pistol provides precision, and the minigun punishes targets that survive the approach. Its weakness is the same weakness as any sustained-fire setup: it may occupy attention while surrounding threats force constant movement.
There is no single official best pair. The best general-purpose loadout is the one that covers distance and density while matching the player’s control style. Because the available information supports role comparisons but not measured damage rankings, that transparent approach produces more dependable guidance than claiming a universal winner.
Frequently Asked Questions
What is the best two-weapon combo for beginners in Ragdoll Reality?
Pistol and Shotgun is the easiest general-purpose combination because each weapon handles a different distance. The pistol rewards accurate single-target play, while the shotgun becomes valuable when several dummies close in. This pairing also teaches basic spacing without requiring the timing needed for C4, Grab, or other specialized tools.
Is C4 actually good, or is it mainly a novelty weapon?
C4 can be good when targets gather in a predictable area and the player has time to prepare a placement. It is less dependable in fast-moving encounters because activation timing and positioning matter. Pairing it with Grab creates the greatest control, while Pistol or Minigun provides a more forgiving way to protect the setup.
Should I carry two explosive weapons together?
Usually not. Rocket Launcher and C4 can both occupy the explosive role, so carrying them together may leave the loadout without a reliable answer to isolated or distant targets. Use one explosive for area pressure and let the other slot cover precision, close range, crowd denial, or target manipulation.
Does the community tier list prove which weapon has the most damage?
No. The official game page does not publish comparable damage, ammunition, cooldown, or fire-rate figures, so a ranked list cannot claim laboratory precision. Community rankings are editorial judgments based on weapon roles, physics behavior, and player experience, and they should be updated when new options or balance changes appear.
Which weapon should I use when facing a fast crowd?
A Minigun paired with Shotgun is a practical answer when you can create distance and punish survivors after the burst. Flamethrower plus Grab can work better for controlling a narrow path because the fire denies approach while Grab repositions isolated targets. The correct choice depends on space, target density, and your control over positioning.