
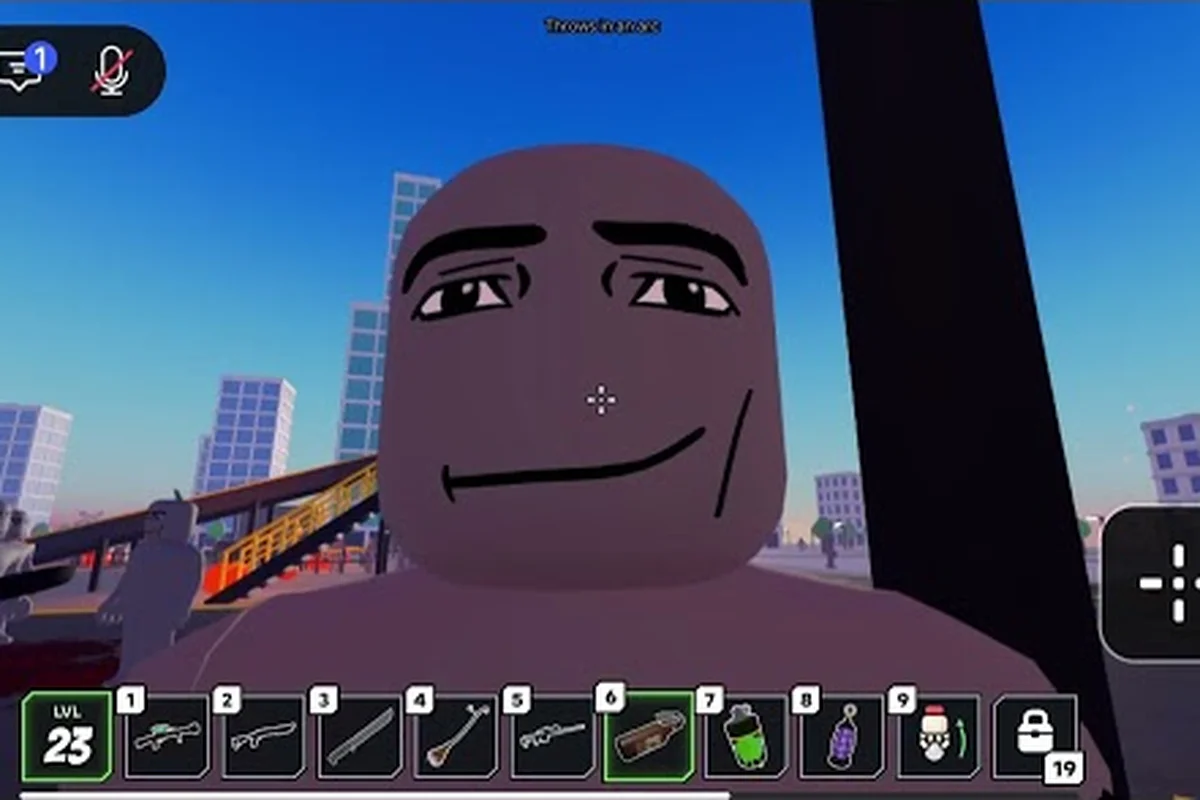
Ragdoll reality horde tips matter because the Graveyard turns ordinary dummies into a growing infection threat, and every wave punishes players who lose control of space. The official game page lists slow, normal, and fast zombie classes, making each encounter a test of positioning, timing, and smart use of dismemberment.
Horde Basics and the Graveyard Threat
Ragdoll Reality’s Horde mode is a wave-survival challenge built around the same physical dummy system used elsewhere in the experience. According to the official Ragdoll Reality game page, the Horde button is the documented way to begin the mode, while the Graveyard provides a conversion point where a thrown dummy can become a zombie. That connection makes the battlefield more than a simple arena: every dummy you move may become a new threat.
The official page identifies three movement classes, but it does not publish exact speed values, health totals, bite damage, wave populations, or intermission lengths. Players should therefore treat the following distinctions as tactical rather than numeric.
| Zombie class | Observable behavior | Practical response |
|---|---|---|
| Slow | Approaches at a reduced pace | Best target for deliberate ranged attacks |
| Normal | Uses the standard movement class | Control openings and prevent surrounding |
| Fast | Closes distance more quickly | Prioritize it before it reaches the group |
| Infected dummy | Can convert after being bitten | Remove it from contact with others |
The most important rule is simple: a bitten dummy becomes a mobile threat. Ragdoll Reality infection is not merely a visual effect; it creates a path from passive dummy to active pursuer. A player who ignores a single infected target can lose valuable time, because that target may continue moving through the arena while the player deals with more obvious enemies.
Ragdoll reality zombies also inherit the dummy reactions described on the official page. They can be grabbed, pushed, thrown, and dismembered, and each body part can behave as a separate target. This makes the environment and body positioning central to survival rather than optional extras. The correct objective is rarely to meet every zombie head-on; it is to use the physics while keeping dangerous classes away from vulnerable ground.
Read the three speed classes correctly
Slow zombies give players time to make deliberate choices, while fast zombies compress the available reaction window. A sound ragdoll reality zombie strategy prioritizes fast movers, uses slow movers to control lanes, and prevents infected dummies from reaching a position where they can multiply the pressure.
| Priority target | Reason | Risk if ignored |
|---|---|---|
| Fast zombie | Can close distance quickly | Escapes or reaches clustered dummies |
| Infected dummy | Can trigger another conversion | Battlefield gains another pursuer |
| Normal zombie | Fills the middle of the formation | Limits safe movement |
| Slow zombie | Offers a manageable attack window | Less urgent unless used as cover |
The official material does not list reward rates, spawn caps, or wave schedules, so avoid building a plan around unverified numbers. Concentrate on repeatable behaviors that remain useful regardless of the wave: create distance, separate the horde, prioritize infection, and use the Graveyard’s conversion mechanic deliberately rather than accidentally.
Graveyard Preparation for Stronger Horde Positioning
Ragdoll reality graveyard tips begin with understanding that the Graveyard is both a resource and a risk. Throwing a dummy into the conversion point produces a zombie, which can be useful for creating a distraction, drawing a horde into a route, or testing how a wave approaches. However, the same action can add pressure if the converted target lands near the player or blocks a retreat.
Before starting a wave, position yourself where you can observe both the open field and the Graveyard. A conversion close to your intended escape route is rarely a clean trade. By contrast, converting a dummy beyond the main cluster may pull enemies into a predictable lane. The official page does not state that the Graveyard can be disabled, so treat it as an active part of every setup.
| Preparation choice | Benefit | Tradeoff |
|---|---|---|
| Convert dummies near the horde | Creates a distraction and pulls enemies together | Leaves less room for retreat |
| Convert dummies across the arena | Draws pursuit away from your position | Requires safer long-range movement |
| Keep the Graveyard behind you | Reduces surprise conversions | Gives up an easy redirection tool |
| Use narrow approaches | Channels multiple zombies into one line | Fast zombies can exploit the choke point |
A practical graveyard setup is to keep one clean escape lane, one area for deliberate conversions, and one place where infected dummies can be isolated. You do not need a complex building layout because the strongest feature of Ragdoll Reality is its physical interaction. A clear lane, a controlled conversion point, and enough open space to throw a body are more useful than an elaborate base.
The Ragdoll Reality zombie guide provides a broader look at the Graveyard and Horde systems, while these tips focus on preparing the battlefield before the first wave begins. The key distinction is intent: every dummy you throw should have a purpose, such as separating a cluster, testing an approach, or creating a moving obstacle.
Convert with a purpose, not by accident
Accidental conversion is dangerous because it expands the number of active enemies without giving you a clear tactical gain. Before throwing a dummy, identify where it will land, which direction it may travel after impact, and whether it can contact a player-controlled target. If those answers are unclear, save the dummy for a safer moment.
Use conversions in short sequences rather than emptying your entire supply at once. Convert one, observe the reaction, and then decide whether another body would improve the position. The experience is physics-driven, so a small adjustment can redirect a dummy or let a converted zombie approach from a different angle.
Horde Tips for Surviving Early Waves
The early part of a Horde is best treated as an observation phase. Players often rush to throw every available dummy, but that behavior can create more infected targets than the player can control. Instead, establish a repeatable loop: identify the nearest danger, create space, attack or redirect it, and then reassess the surrounding group.
Ragdoll reality horde tips are most effective when they reduce simultaneous threats. If several zombies converge, prioritize the one that blocks the largest escape route rather than the one already taking damage. Fast zombies deserve special attention because their movement class can turn a stable formation into a sudden chase, while slow zombies can often be handled after immediate pressure is removed.
| Situation | Best response | Reason |
|---|---|---|
| One fast zombie approaches | Damage it early or throw a body at its path | Prevents it from reaching a cluster |
| Several slow zombies form a line | Move sideways and attack from range | Avoids walking into a packed formation |
| Infected dummy reaches another dummy | Separate the targets immediately | Stops the conversion chain |
| Player is trapped in the center | Use a thrown dummy as a moving barrier | Buys time to create an exit |
| Enemy crowd becomes unstable | Push or throw a body into open space | Breaks apart the pile |
The official description says zombies can chase, pounce, and bite, so facing a charging target without an exit is dangerous even when its health appears low. Keep a movable object between you and a pounce when possible. If a dummy can be grabbed, it can also become a tool for redirecting an enemy or breaking a congested line.
Follow the disruption loop
The strongest pattern is identify, isolate, redirect, finish. Identify the enemy creating the most pressure. Isolate it from the pack by moving laterally or throwing a body across its route. Redirect it toward open ground with a push, grab, or throw. Finish it only after the immediate area is clear enough to avoid a counterattack.
Do not wait for every zombie to reach the same opening. Funneling enemies is useful only when the entrance is longer than the group’s approach time. A fast zombie arriving late can bypass the formation and strike the rear. Leave enough lateral space to correct the formation instead of committing completely to one corridor.
The Ragdoll Reality getting-started guide can help with the basic controls and first-session setup. Once those mechanics are comfortable, the main Horde skill becomes deciding when to fight, when to move, and when to turn a dummy into a distraction.
Advanced Zombie Strategy With Dismemberment
Dismemberment is one of the most distinctive mechanics in Ragdoll Reality, and it offers more than a simple elimination method. The official page describes body parts as separate targets rather than a single health bar, so hitting a limb can alter movement or reduce a zombie’s ability to pursue. Exact damage thresholds are not published, which means players should verify the effect through the visible behavior of each body part.
A strong ragdoll reality zombie strategy targets the body parts that matter during the current action. Limbs that support movement matter during a chase, while a detached or displaced part can be used as a distraction. Since the page does not specify that any particular body part instantly removes a zombie, do not assume one guaranteed hit will solve the encounter. Commit to the target, observe the result, and avoid standing where the remaining body can still reach you.
| Target opportunity | Tactical purpose | Practical check |
|---|---|---|
| Detached limb | Use as a throwable distraction | Pick it up before the horde closes |
| Supporting leg | Test whether pursuit slows | Watch the zombie after impact |
| Trailing arm | Redirect momentum or grip | Aim it away from your escape line |
| Torso | Create separation between attackers | Do not assume instant elimination |
| Whole body | Change a zombie’s trajectory | Throw it into open space |
Ragdoll reality zombies can be grabbed, pushed, thrown, and dismembered, so positioning remains powerful even when a target is already injured. Grab a nearby dummy to break a charge, use a limb to interrupt a path, or throw a body into a cluster to create a short opening. These are physical solutions rather than damage-only solutions, which makes them valuable when several enemies are active.
The guide to defeating Ragdoll Reality zombies expands on target selection and elimination tactics. In a Horde, the difference is that every throw and dismemberment also changes the placement of the next wave, so destruction should create safer space rather than simply increase the kill count.
Use bodies as temporary battlefield controls
A physical body can block a line, interrupt a grab, or pull a zombie away from a vulnerable area. Treat loose parts as tools instead of debris. The best target is the one you can retrieve without crossing the center of the horde.
A useful sequence is to damage the near enemy, collect the resulting loose part, and redirect the next pursuer toward the open side of the arena. That keeps the player’s movement away from the Graveyard and prevents accidental conversions. Once the pocket is clear, return to the primary exit route instead of chasing every distant enemy.
Infection Control and Multi-Wave Decision Making
Ragdoll reality infection is the central reason position management matters. A bitten dummy can convert, so a fight near a stockpile of dummies can turn one mistake into a chain of problems. The official page does not publish infection timing, conversion limits, or a method for curing a dummy, so the safest strategy is prevention.
Keep infected dummies away from untouched dummies whenever possible. If you cannot remove the infected target immediately, use distance to prevent it from reaching the group. Avoid throwing an infected body into the Graveyard, because the location is designed to convert dummies. Treat the Graveyard as a place where mistakes become permanent, at least for the duration of the encounter.
| Risk signal | Likely consequence | Corrective decision |
|---|---|---|
| Infected dummy near a healthy dummy | Another zombie may be created | Separate or eliminate one immediately |
| Player boxed in by a crowd | Limited attack and escape angles | Throw a body toward the weakest side |
| Graveyard behind the retreat path | A conversion can block the exit | Change position before the wave grows |
| Fast zombie approaching a conversion zone | Its bite can multiply pressure | Intercept it away from the Graveyard |
| Many dummies scattered near the horde | Easy accidental conversions | Clear the pickup area first |
Across multiple waves, resist using every resource immediately. Dummies become ammunition, distractions, and potential infection vectors. A resource-efficient player may allow a slow zombie to approach while saving throws for a fast zombie or an infected dummy. The goal is not maximum activity; it is controlled pressure that you can predict.
Community reports can reveal practical patterns, but they should not be treated as confirmed numbers unless the developer publishes them. According to player experience, players tend to perform best when they keep a clear escape corridor, attack fast movers early, and avoid letting infection reach the Graveyard. These observations align with the documented behavior, but the exact difficulty of any wave may change as the experience receives weekly updates.
Final Horde Checklist Before the Next Attempt
A short pre-wave routine prevents many avoidable failures. Clear the immediate area, choose a conversion point that is not on your escape line, and identify where loose limbs and dummies will accumulate. During the fight, keep the same priorities: fast zombies, infected dummies, blocked routes, then remaining targets.
| Checkpoint | Desired condition |
|---|---|
| Start of wave | One clear escape route |
| After each kill | No infected dummy left beside a healthy one |
| Graveyard use | Deliberate conversion away from retreat path |
| When surrounded | One body available to throw or redirect |
| Between waves | Loose parts and dummies cleared from the next approach |
Ragdoll reality horde tips ultimately reward control over both bodies and space. Use the Graveyard as a directed tool, exploit separate body-part targets, and treat infection as an immediate containment problem. The official game page supports the three-class, conversion, and dismemberment foundation, while exact wave statistics remain unconfirmed, so adaptive positioning is the most dependable advantage.
Frequently Asked Questions
What is the most important Ragdoll Reality horde tip?
The most important tip is to prevent infection from spreading near the Graveyard. A bitten dummy can convert, so separating an infected target from healthy dummies protects the rest of the arena. Use a thrown body to interrupt a chase, prioritize fast zombies, and keep a clear escape route rather than staying in the center of the horde.
How should players handle the three zombie speed classes in a wave?
Treat slow, normal, and fast zombies as different tactical problems rather than equal health targets. Slow zombies offer deliberate attack windows, normal zombies require crowd control, and fast zombies deserve early attention. This approach remains useful even though the official page does not publish exact speed or damage values.
Is throwing every dummy into the Graveyard a good strategy?
No. Converting every dummy can create more enemies and block your movement, especially if conversions land near your escape path. Use one or two conversions to redirect a group, observe the result, and only then decide whether another distraction improves your position.
Can dismemberment create safer horde tactics?
Yes. Because body parts act as separate targets, limbs can be grabbed, thrown, or used to redirect movement. Treat detached parts as battlefield tools rather than clutter. A well-placed limb may interrupt a pursuer or distract several enemies, but players should not assume every dismemberment instantly eliminates a zombie.