
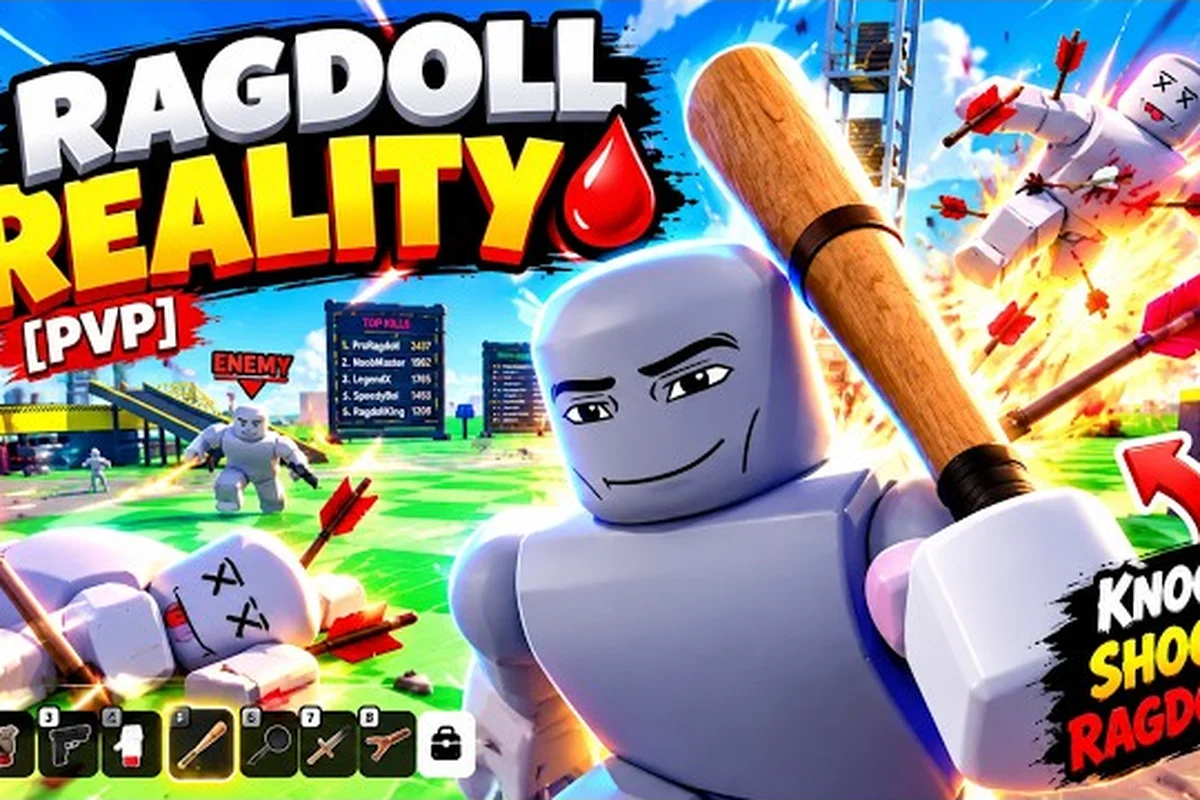
Ragdoll Reality’s deadly playground turns ordinary props into unpredictable stunt tools, so placement matters as much as the launch itself. Six key locations provide distinct testing conditions: use the wrecking ball for long-distance impact runs, the spike pit to measure fall damage over short drops, the human cannon to compare launch angle against collision timing, and the 80-stud tower to identify the height where control becomes unreliable. Because a prop’s trajectory can redirect a limp ragdoll, keep the first test unobstructed and note the exact failure point before increasing speed, mass, or elevation. The shredder can be tested separately as a high-risk obstacle for entry timing rather than treated as another launch device.
Playground Map and Core Hazards
The Ragdoll Reality deadly playground is built around impact-based experimentation rather than a conventional combat loop. The official Ragdoll Reality game page identifies the Shredder, the train, the wrecking ball, the spike pit, the human cannon and the seesaw, plus an 80-stud tower where dummies can be dropped. That makes this Ragdoll Reality playground guide a practical tour of the map’s most useful stunt stations.
The official page says dummies can be grabbed, pushed, thrown, and dismembered, while impacts register where the body strikes an object. It does not publish exact health values, damage thresholds, gravity settings, or respawn timing, so the safest approach is to observe the physics in-game rather than invent precise stats.
| Hazard | Primary interaction | Best test goal | Main risk |
|---|---|---|---|
| Shredder | Feed a dummy into the mechanism | Record a complete pass-through | Incorrect positioning |
| Train | Place a dummy in the train’s path | Test a moving-body collision | Timing errors |
| Wrecking ball | Swing it into a suspended target | Maximize swing distance | Wide impact zone |
| Spike pit | Drop or throw a dummy into the spikes | Compare landing positions | Hard-to-read depth |
| Human cannon | Load and launch a dummy | Reach a distant landing area | Unstable trajectory |
| 80-stud tower | Drop a dummy from height | Examine the final impact | Severe vertical impact |
Because there is no published damage chart, treat the table as an interaction map rather than a power ranking. A strong stunt depends on the dummy’s position, the direction of the impact, and whether the object is moving before contact. The wider Ragdoll Reality trap guide is useful for comparing every playground fixture, while this guide focuses on timing and practical setup.
Six official landmarks
The six named fixtures provide distinct lessons. The Shredder tests whether a body can pass cleanly through a confined mechanism, the train turns a static target into a moving collision, and the wrecking ball rewards a well-timed swing. Meanwhile, the spike pit rewards an accurate drop, the human cannon emphasizes launch direction, and the tower turns height into the central variable.
A useful first session begins with the smaller, more controllable fixtures. Test a slow body movement, then a thrown dummy, and only afterward combine two hazards. This progression makes it easier to recognize whether an unusual result came from placement, momentum, or an intentional chain rather than an unrelated control input.
Mastering the Shredder and Wrecking Ball
The Shredder and wrecking ball serve very different roles. The Shredder is a confinement-and-processing station, while the wrecking ball is a momentum-and-swing mechanism. Confusing those goals makes it tempting to use both as simple damage machines, even though the interesting results come from preparation.
Working with the Shredder
Ragdoll Reality how to use shredder footage should begin with alignment rather than force. Place the dummy close to the opening, orient it so a narrow part enters first, and then apply a controlled push. Pulling or throwing from too far away can make the dummy land beside the mechanism, producing an ordinary collision instead of the intended result.
A three-stage test gives the Ragdoll Reality Shredder a controlled way to compare body alignment without relying on a guaranteed animation: first position the dummy directly in front of the entrance, then use a small push to confirm its travel direction, and finally increase the push while recording the result. This sequence helps distinguish an ordinary collision at the Shredder opening from a successful entry, while the body position remains an experience-based observation rather than a published mechanic. The Shredder alignment window may vary with update timing, so repeated tests can show whether a particular limb-first orientation produces a more consistent result.
-
Position the dummy directly in front of the entrance.
-
Apply a small push to confirm the direction of travel.
-
Increase the push gradually while recording the result.
The official description calls the Shredder one of the map’s defining hazards, but it does not state the required body position or a guaranteed outcome. As a result, players who report that a certain limb enters first are sharing an experience-based technique, not a published mechanic. The Shredder alignment window should therefore be treated as a practical observation that may change with update timing.
Swinging the wrecking ball
The Ragdoll Reality wrecking ball works best when the target remains still and the swing reaches full travel before contact. Hitting it while the chain is still winding up wastes the strongest part of the movement, while standing close to the arc leaves little reaction time after impact.
A reliable setup starts with using the full swing arc of the Ragdoll Reality wrecking ball: position the dummy within the pendulum’s path, let the chain reach its maximum extension, and make contact near the bottom of the forward arc. This converts the wrecking ball’s momentum into the strongest launch, while a late approach or a crowded stance can reduce control and leave less room for the dummy’s ragdoll physics to react.
-
Place the dummy near the swing path but beyond the resting center.
-
Stand on the side where the ball can gain the greatest lateral range.
-
Wait for the chain to pull taut before letting the ball approach.
-
Observe whether the impact launches, folds, or separates the dummy.
The swing-arc clearance is the key practical boundary. A broad, forceful strike can send the dummy beyond the intended target area, so keep nearby obstacles and your own avatar outside the likely rebound path. For more controlled movement along the rail, compare the train timing and stunt guide, since both hazards depend on reading a moving object before impact.
| Test | Wrecking ball | Shredder |
|---|---|---|
| Best initial condition | Full swing from a clear path | Dummy aligned with the opening |
| Main skill | Timing the arc | Controlling the approach angle |
| Common mistake | Hitting during the return swing | Pushing from excessive distance |
| Best recording angle | Side view of the entire arc | Frontal view of the entrance |
| Follow-up test | Change impact direction | Change body orientation |
Spike Pit, Human Cannon, and Tower Drops
The spike pit, human cannon, and tower are the playground’s most dramatic fixtures, but each answers a different physical question. The pit rewards placement, the cannon changes both speed and direction, and the tower isolates the effect of vertical distance. Treating all three as simple launch stations would miss the most useful part of the sandbox.
Reading the spike pit
Approach the spike pit with a controlled drop before attempting a long throw. Stand at a consistent position, lower the dummy into view, and release it. The first run establishes the landing zone; later runs can test whether a small step to either side changes the final position.
The spike-pit landing zone is more useful than a guessed distance because the surface itself provides a visual reference. If the dummy strikes the edge, adjust its horizontal placement rather than adding more power. If it lands cleanly but does not react as expected, avoid drawing conclusions about invisible damage thresholds that the developer has not published.
For a broader comparison, the fall-damage guide explains why height and landing conditions need careful observation. The spike pit should be tested independently first, because combining it with another hazard can make it difficult to identify which contact produced the final result.
Loading the human cannon
The Ragdoll reality human cannon is a trajectory tool. Its useful setup starts by placing the dummy near the barrel’s intended entry path, adjusting its orientation, and checking the surrounding landing area before launch. If the body sits at an angle, expect the launch direction and rotation to vary because the barrel and the dummy are not aligned.
Run at least three versions of the same human cannon test while keeping the launch-angle baseline fixed, then compare the dummy’s balance, spin, and distance from the table below. For example, test the upright dummy from behind, the sideways dummy from the side, and the angled dummy from the wide camera, using the same natural launch strength each time. This isolates how orientation and camera position affect the Ragdoll Reality human cannon trajectory without creating a false comparison, while official data still provides no confirmed velocity, travel distance, or maximum range.
| Variable | Version A | Version B | Version C |
|---|---|---|---|
| Dummy orientation | Upright | Sideways | Angled |
| Launch strength | Natural | Natural | Natural |
| Camera position | Behind | Side | Wide |
| Goal | Observe balance | Observe spin | Compare distance |
The launch-angle baseline is the only control that should remain fixed during the first comparison. Change one variable at a time, because altering orientation, position, and camera angle together makes it difficult to learn what produced a memorable result. Player experience supports using the cannon for creative launches, but official data does not specify velocity, travel distance, or a guaranteed maximum range.
Using the 80 stud tower
The Ragdoll reality 80 stud tower provides the map’s clearest height test. The official page identifies it as an 80-stud tower from which dummies can be dropped, making the stated height more reliable than community estimates based on visual scaling.
Begin with controlled handling, not a full drop. Lower a dummy over the edge, release it, and record how the body turns. Then repeat from the same position with a different orientation. Height-to-impact comparison is the purpose of these runs: determine whether a different posture changes the contact point after the long fall.
| Tower test | Keep constant | Change | Record |
|---|---|---|---|
| Orientation test | Release point | Body angle | First contact point |
| Rotation test | Release point | Initial spin | Landing orientation |
| Entry test | Drop position | Feet-first or side-first | Reaction at impact |
| Repeatability test | Same setup | Minor timing change | Variance between runs |
Do not assume that a taller fall always produces the same visible result. A body can rotate, strike a surface, or deform before the final landing, and the game’s unpublished physics settings make a single demonstration less reliable than repeated trials.
Practical Stunt Tests and Setup Sequences
A good Ragdoll Reality playground guide should help you design tests that produce a clear answer. Every setup needs one intended variable, one observable outcome, and enough space for the dummy to move without immediately striking another obstacle. This simple framework works for the train, seesaw, wrecking ball, and any combination of those objects.
Run a controlled hazard sequence
A five-step sequence can turn the playground into a repeatable testing environment. Start by choosing the hazard, clear the surrounding area, establish a reference point, run the interaction, and record the result. Avoid making cosmetic changes before the first run because they make comparison harder.
Baseline position is the first clean release or starting placement. Impact point is where the body first contacts the target. Exit path is where the dummy travels afterward, while secondary contact identifies any later collision. These four checkpoints turn a chaotic stunt into information that can be compared across attempts.
| Stage | Player action | Question answered | Keep consistent |
|---|---|---|---|
| 1 | Clear the working area | Is the test unobstructed? | Camera and lighting |
| 2 | Record the baseline | Where does the body begin? | Exact starting point |
| 3 | Trigger the hazard | What causes the first reaction? | Input strength |
| 4 | Watch the entire path | Where does the dummy finish? | No added input |
| 5 | Reset and repeat | Is the result consistent? | Same conditions |
Pairing the Moving Hazards
The train creates a moving impact, while the seesaw changes its response after weight is applied. Position the dummy before testing either object, then watch the full cycle. A moving target that arrives at the wrong moment can strike the avatar or push the dummy into a secondary hazard, so keep the approach lane clear.
The hazard-combos guide is particularly useful after you can execute each fixture independently. A combination is easier to understand when the first impact is visible and the second event follows predictably. Trying to create a three-object chain on the first attempt often hides the cause of a strange result.
Record useful comparisons
Capture the setup, trigger, and aftermath for every attempt. A short clip that includes the entire dummy path is more valuable than a close-up of the final reaction because it shows whether the body rotated, bounced, or struck another surface first. Include the timer or camera marker in the footage when possible.
The reproducibility rule is simple: if a result appears once but cannot be recreated under the same conditions, treat it as an observation rather than a fixed rule. This approach is especially important because the official page does not provide numerical timing or damage values for the hazards.
Advanced Techniques for Testing Physics
Advanced play comes from controlling the variables, not merely increasing the violence. The most useful experiments compare a controlled setup with a single deliberate change. You can also use the graveyard mechanic as part of the sandbox: the official page notes that a damaged dummy may later become a zombie, creating a different moving target for later tests.
Compare one change at a time
The best advanced experiments change the release angle, body orientation, impact speed, or object position without changing anything else. Keep the camera wide enough to show the whole path, and count each additional contact separately. The secondary-impact ledger—first contact, first major reaction, and final resting point—makes comparisons much easier to review later.
| Experiment | Initial control | Single change | Useful result |
|---|---|---|---|
| Swing impact | Target beside the ball | Move target deeper into arc | Difference in launch force |
| Cannon drop | Same body orientation | Shift one position | Change in direction |
| Tower fall | Same release point | Rotate the dummy | Change in contact area |
| Shredder entry | Aligned body | Rotate body sideways | Difference in entry behavior |
| Moving collision | Stationary dummy | Use train | Change in reaction timing |
The Ragdoll Reality Roblox guide can help with the basic session setup before those comparisons. The important point is to understand the controls and respawn cycle first, because a test interrupted by a reset is difficult to compare with an uninterrupted run.
Test directional versus rotational impact
A directional hit pushes the body along a path, while a rotational impact can make it tumble or fold. The wrecking ball can create either depending on the contact area, and the human cannon often introduces both. Watch the first second of motion: direction of travel, body rotation, and the point of contact tell you more than the final pose alone.
Avoid comparing a limb-first strike with a torso-first strike as if they were equivalent. The official game page describes each body part as a separate target, but it does not publish the numerical damage or dismemberment threshold associated with those targets. The responsible conclusion is that different contact areas can produce visibly different reactions, not that one limb always has a fixed damage value.
Use the graveyard deliberately
The graveyard conversion path can add a new phase to a playground experiment. Test a body near the conversion area, then observe whether the resulting zombie follows a different route or reacts differently to a hazard. Keep the result labeled as a graveyard behavior observation because no official timing, spawn rule, or damage threshold is supplied.
This is especially effective after a controlled fall or shredder entry, but it should remain a separate test. If the body was damaged before conversion, a later impact may reflect both events. For cleaner data, preserve the earlier setup notes so the original and converted outcomes remain distinguishable.
Know what the evidence can prove
Official information supports the existence and names of the main fixtures, the ability to manipulate dummies, impact-based reactions, dismemberment, and graveyard conversion. It does not support exact damage values, limb durability, forced respawn delays, object mass, or guaranteed launch distances. Keep those categories separate when documenting a stunt.
| Claim | Evidence level | Safe conclusion |
|---|---|---|
| Six named hazards exist | Official | They are core map landmarks |
| Dummies can be moved and thrown | Official | Positioning is part of play |
| Limbs can detach | Official | Contact area affects the result |
| A body can become a zombie | Official | The graveyard adds a new phase |
| Every limb has fixed damage | Unpublished | Observe and compare instead |
| The tower has an exact landing range | Unpublished | Test from a marked release point |
Frequently Asked Questions
What are the main hazards in the deadly playground?
The official Ragdoll Reality page names the Shredder, the train, the wrecking ball, the spike pit, the human cannon and the seesaw. It also lists an 80-stud tower for dropping dummies. These are the central fixtures covered in this Ragdoll Reality deadly playground guide, with exact damage and timing treated as unpublished values.
How do you use the Shredder safely and effectively?
Align the dummy directly with the opening, orient a narrow body part toward it, and begin with a controlled push. Increase the force only after confirming the approach works. The official source does not publish a required body position, damage threshold, or processing speed, so observations from player experience should not be treated as fixed rules.
Which hazard gives the best launch for a long-distance stunt?
The human cannon and wrecking ball can both launch a dummy, but they serve different purposes. The cannon is better for testing launch angle and body rotation, while the wrecking ball depends on swing timing and available space. No official velocity or maximum-distance values are published, so a fair comparison requires equal camera and measurement conditions.
Is the 80-stud tower suitable for beginners?
Yes, provided the player starts with a controlled release and watches the complete drop path. The official page confirms the tower’s height and its intended dummy-drop function. New players should first observe the landing area, avoid secondary obstacles, and use the tower before combining its height with a cannon or wrecking ball.
Can dummies become zombies in the playground?
The official page describes a graveyard conversion path in which a damaged body can later become a zombie. That creates a useful second phase for testing movement and collisions, but it also makes attribution harder. Record the damage event and conversion separately, and compare converted behavior with untouched controls when possible.